<span class="fr-mk" style="display: none;"> </span><span class="fr-mk" style="display: none;"> </span>
Setting up MFA
First, go to: https://sast.org.uk/mfa
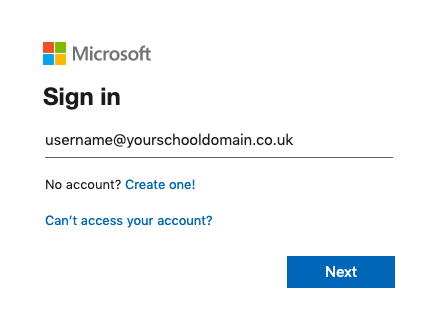
Login to Office 365 (If you haven't done already). You'll be presented with a dialog box informing you that More Information is Required
You'll be brought to another web page asking you to provide a method of contacting you for when you attempt to login to Office 365 Externally.
There are three methods of authentication that you can use:
- Use a iOS/Android app named ‘Microsoft Authenticator’
- Get a text message with a unique code come through to a mobile number of your choice.
- Get an automated phone call come through to a number of your choice.
The easiest, and preferred method of authentication is to use the Mobile Application 'Microsoft Authenticator'. You'll need a smartphone (iPhone, or Android phone) for this to work.
You can down load the app HERE
Setup with Mobile App - Microsoft Authenticator
From either the Apple App Store or Android Play Store, download the 'Microsoft Authenticator' app.
Back to the website, Select 'Mobile app' from the drop down menu.
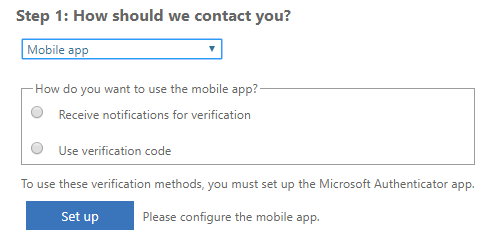
Receive notifications for verification: This is the quickest method to get yourself signed in. When you attempt to sign in externally, the app will pop a notification up on your phone allowing you to click 'Accept' or 'Deny' to the sign in request.
Use verification code: Still using the same app, when you attempt to sign into Office 365 externally, you open the app up and type in the 6/8 digit code generated by the app within the given time frame.
For the sake of the guide, we'll setup with 'Receive notifications for verification'
Select Receive notifications for verification from the two options shown below the drop down and click Setup
You'll then be shown a QR code. (Do not scan the bar code in the image below)
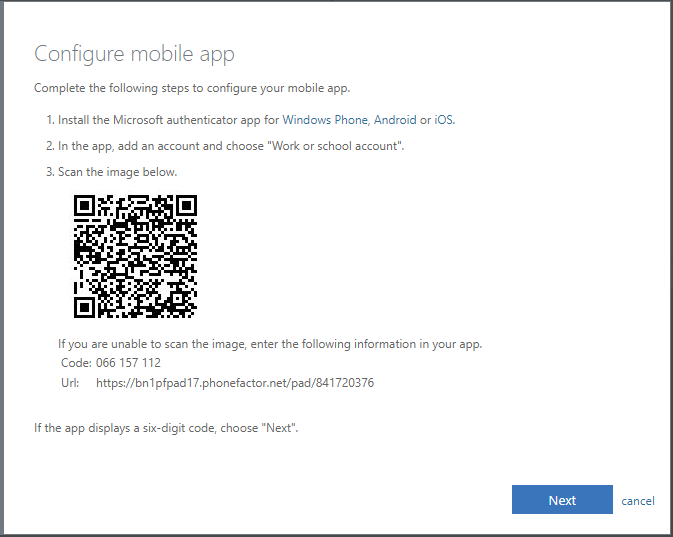
Open the Microsoft Authenticator Application and click on the + sign to add your Office 365 account.
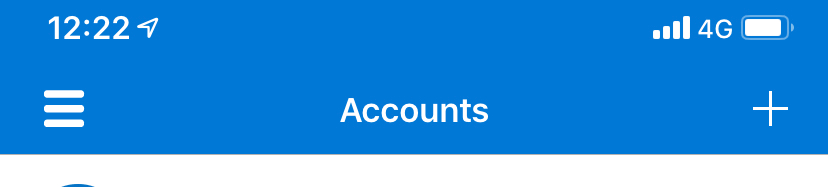
Select Work or School Account

You'll then be asked to use your phone's camera to scan the QR code that you have up on your computer screen. To do this, just point the camera at your computer screen with your QR code visible on.
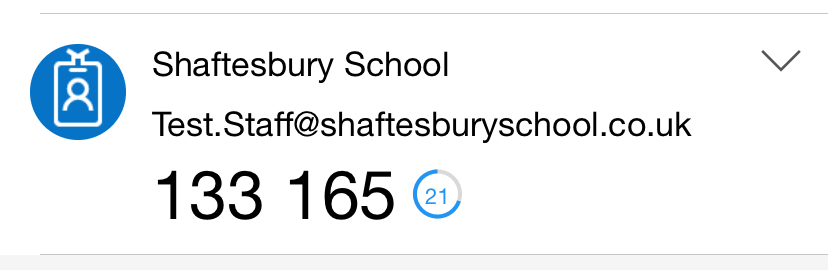
You should now see your account show with 6 numbers. These numbers are what is required if you ticked the Use verification code method in the previous step.
When you have done this and your account is showing on the app, back on your PC with the QR code showing, click Next
This will then start Checking your Activation Status. Wait until this has completed and you'll be able to click Next
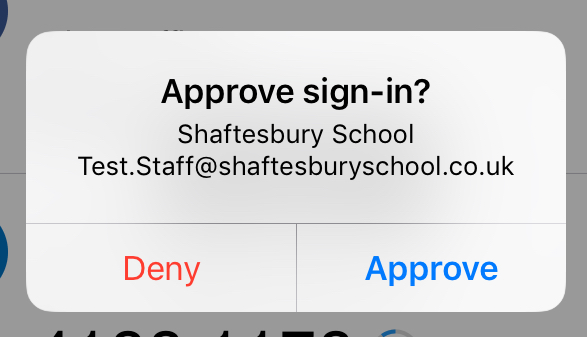
This will then send a test notification to your phone asking you to Accept or Deny. Click on Accept
Back on the PC, you'll now be asked to setup a backup authentication method in case you don't have access to the mobile app. Select the UK for the country, and type in your Mobile number.
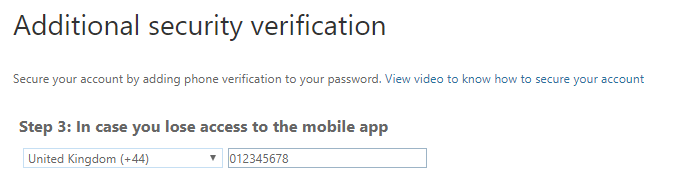
When typed in, select Done
That's it, you're all setup with the Microsoft Authentication app!
Setup with Mobile Notification - SMS Message
From the drop down menu, select Authentication Phone
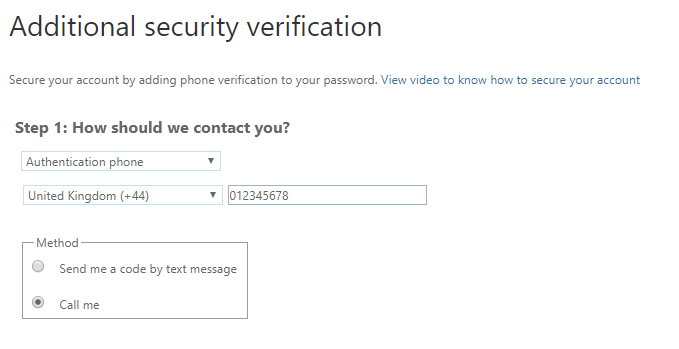
Type in your mobile number if you would like to have a text message with a code sent to you, or if you don't have a mobile phone type in your home phone number.
Select one of the two options:
Send me a code by text message: When selecting this option, you'll be sent a text message to your number with a number code that Office 365 will prompt you for when attempting to sign in externally.
Call me: An automated phone call from Microsoft asking you to confirm by clicking on the hash key on the keypad.
For the sake of this guide, we'll select Text message
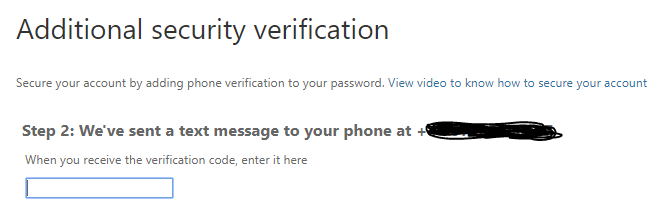
You'll get a text message come through to your phone with a number code.
Back on your PC, type in the code you have received and select Verify
You'll get a 'Successful' message. Click Done
That's all! - You have now setup SMS/Phone call verification.